
Since PyXLL 4.5, PyXLL can apply formatting to the results of Excel worksheet functions. It is also possible to use PyXLL formatters from macros, menus and ribbon functions.
See Cell Formatting in the user guide here.
If you are using a version of PyXLL before 4.5, or are interested in how to apply formatting using the Excel Object Model directly, for example if you are writing your own custom formatter, read on below.
With VBA it's possible to style cells and ranges by changing the background color, adding borders, and changing the font among other things. In Python it's no different as the entire Excel Object Model is available to you in Python, just as it is in VBA.
If you know how to do what you want in VBA it is usually quite straightforward to translate that to Python. But what if you don't know what to do to begin with? The VBA Macro Recorder in Excel is a great way to figure out how to do things in using the Excel Object Model before writing it in Python.
We'll use the technique to apply some style changes to a range of cells.
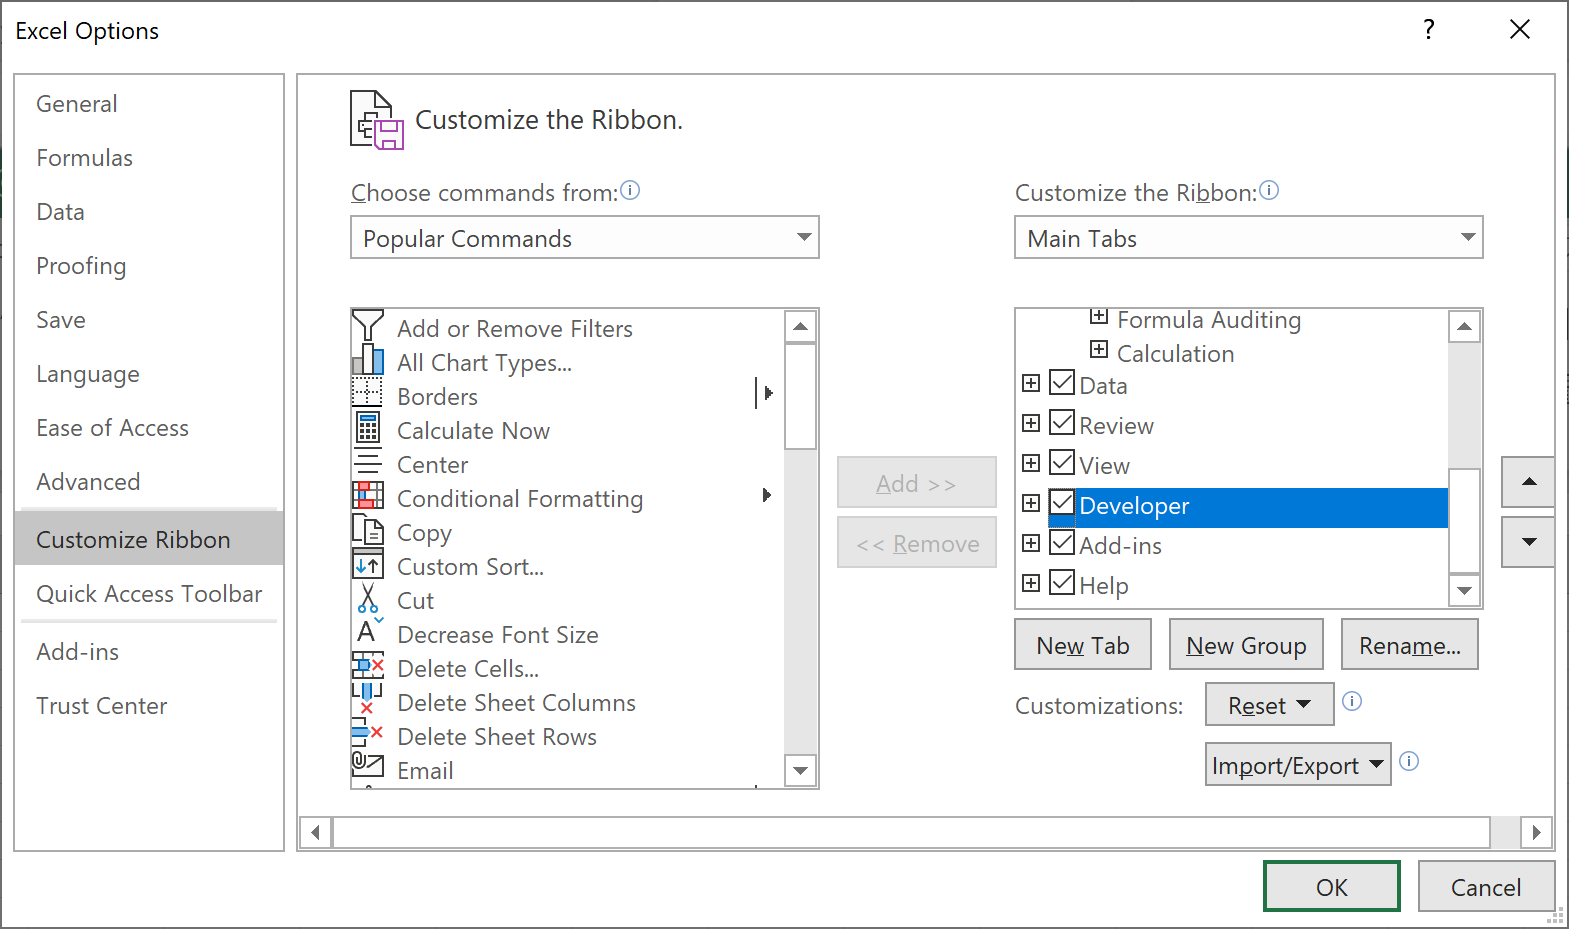
To begin with, if you don't see the "Developer" tab in Excel right click on the ribbon tool bar and select "Customize the ribbon..." and check the "Developer" tab.
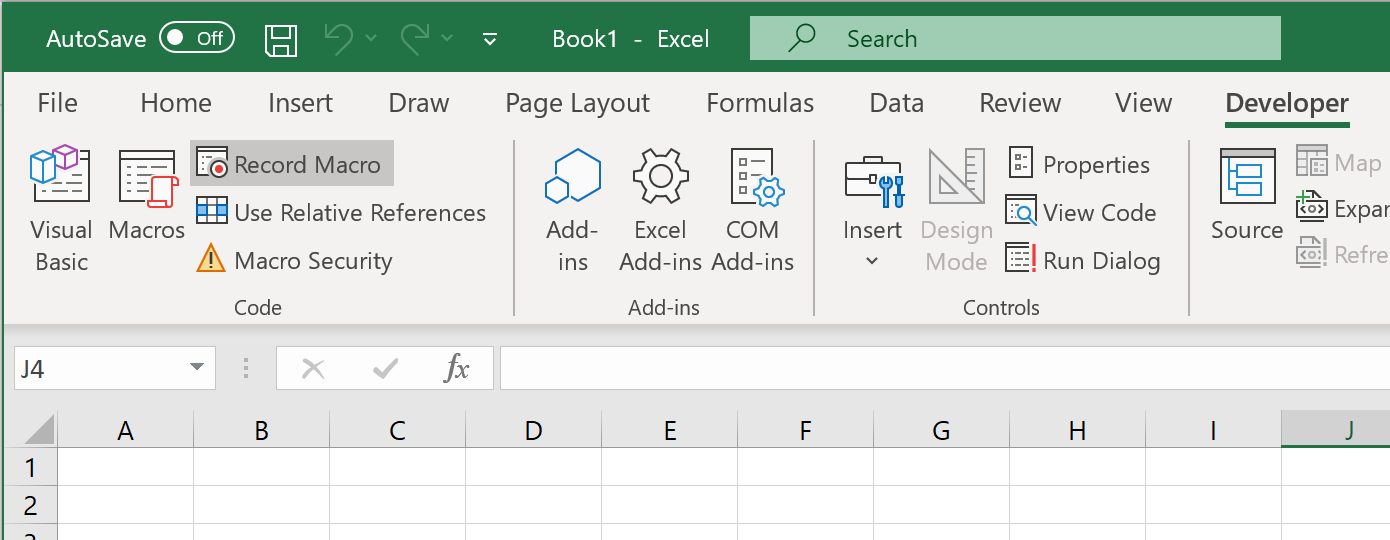
Now select the Developer tab and you'll see the "Record Macro" button. Press this button to start recording a VBA macro.
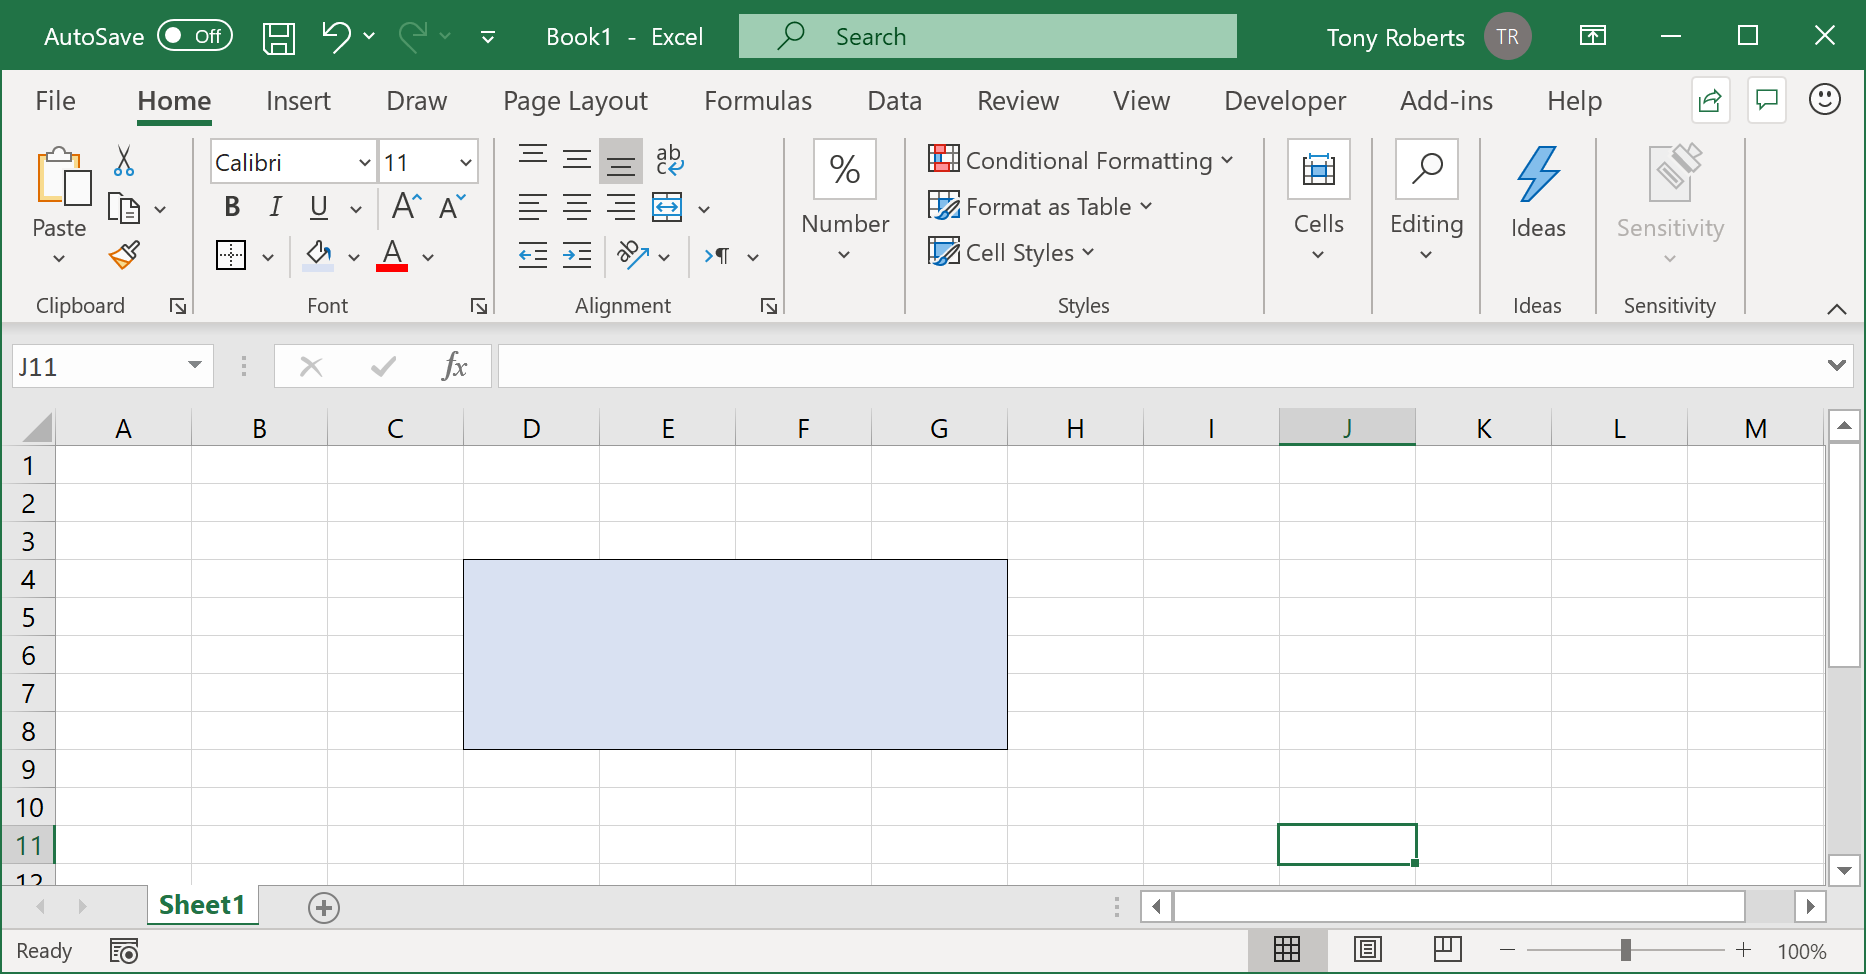
With the Macro Recorder running now select some cells, change the background color and add an outside border.
Stop the Macro Recorder and open the VBA Editor by pressing Alt+F11. The macro that we've recorded has been added to a new Module.
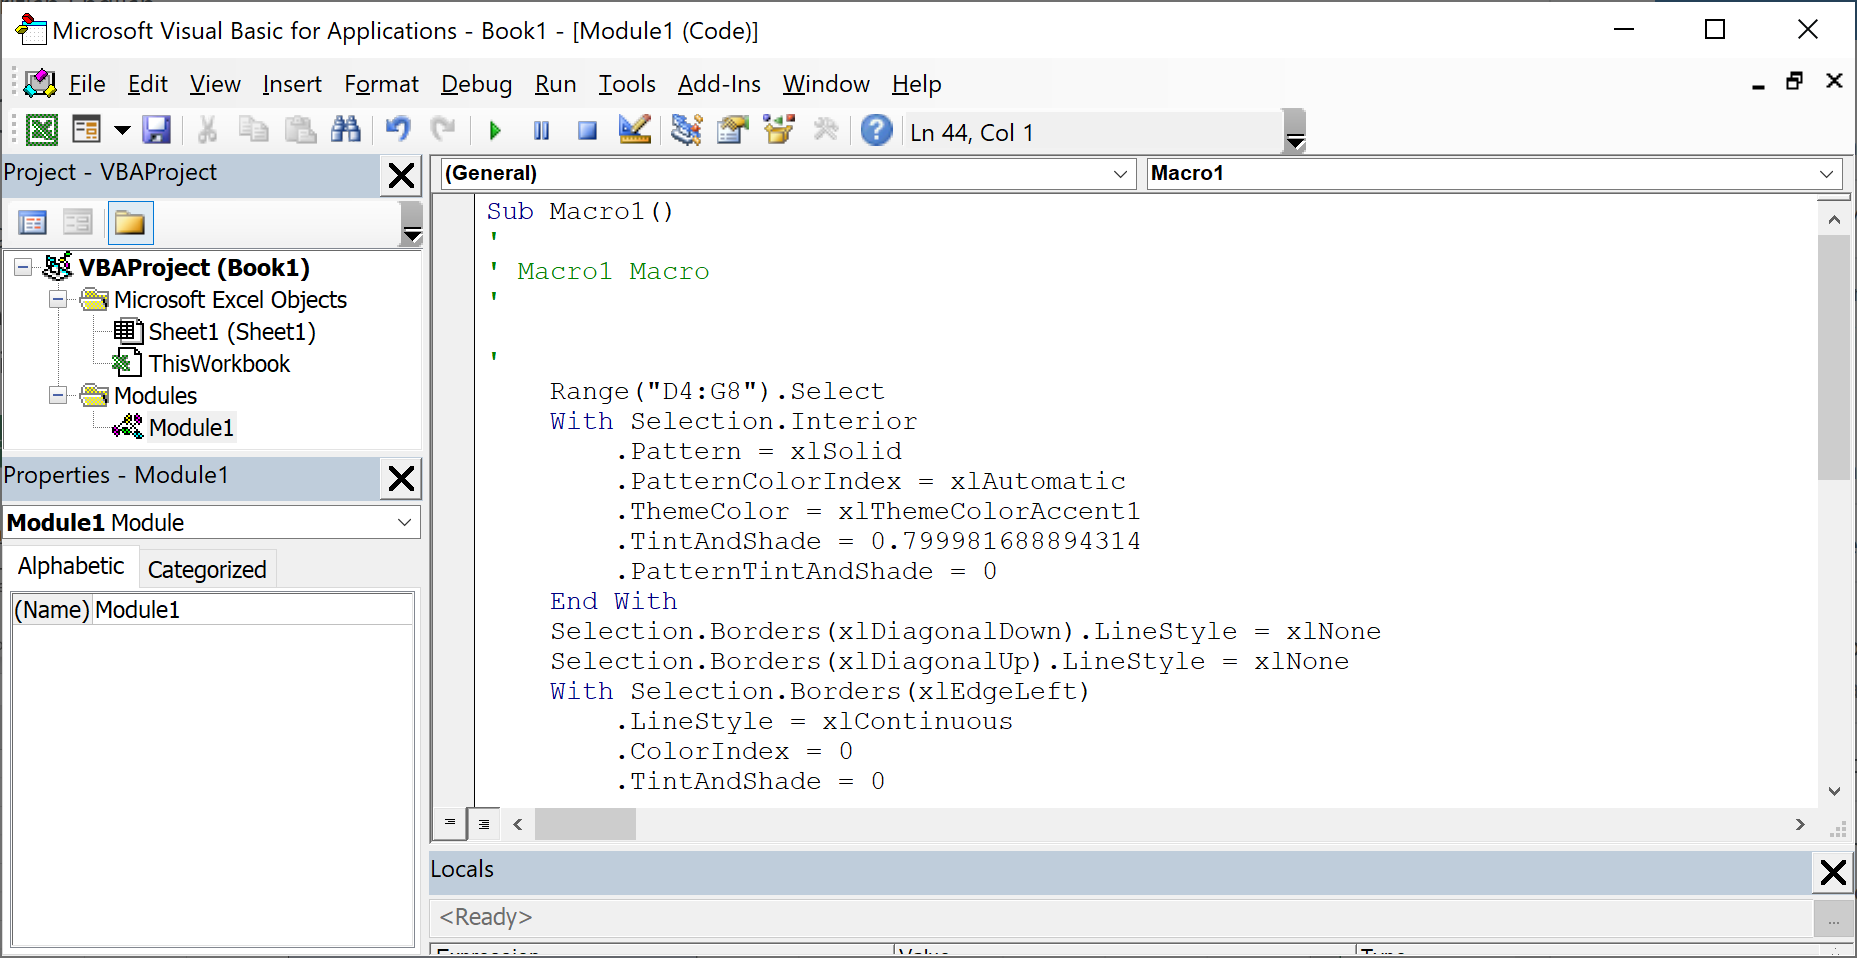
Now we have the VBA code that shows us the properties and methods of the Excel Object Model that we need to use to apply the same style to another range. We will use this to write some Python code that will do exactly the same thing.
Here is the VBA code recorded by the Macro Recorder:
Sub Macro1()
    Range("D4:G8").Select

    With Selection.Interior
      .Pattern = xlSolid
      .PatternColorIndex = xlAutomatic
      .ThemeColor = xlThemeColorAccent1
      .TintAndShade = 0.799981688894314
      .PatternTintAndShade = 0
    End With

    With Selection.Borders(xlEdgeLeft)
      .LineStyle = xlContinuous
      .ColorIndex = 0
      .TintAndShade = 0
      .Weight = xlThin
    End With

    With Selection.Borders(xlEdgeTop)
      .LineStyle = xlContinuous
      .ColorIndex = 0
      .TintAndShade = 0
      .Weight = xlThin
    End With

    With Selection.Borders(xlEdgeBottom)
      .LineStyle = xlContinuous
      .ColorIndex = 0
      .TintAndShade = 0
      .Weight = xlThin
    End With

    With Selection.Borders(xlEdgeRight)
      .LineStyle = xlContinuous
      .ColorIndex = 0
      .TintAndShade = 0
      .Weight = xlThin
    End With

    Selection.Borders(xlDiagonalDown).LineStyle = xlNone
    Selection.Borders(xlDiagonalUp).LineStyle = xlNone
    Selection.Borders(xlInsideVertical).LineStyle = xlNone
    Selection.Borders(xlInsideHorizontal).LineStyle = xlNone
End Sub
Rewriting VBA as Python Code
The Python as a VBA Replacement page in the user guide has detailed information about the differences between VBA and Python code that will help us translate from VBA to Python. We will also need to consult Microsoft's Excel Object Model documentation to understand all of the options are available to us.
To convert this to Python code we start with the "Excel.Application" object. We don't see this object in the VBA code above as it is used implicitly. The first line Range("D4:G8") is accessing the Range property on the Application object implicitly.
We use the pyxll.xl_app function to get the Excel.Application instance. This uses the third party package win32com by default, but can use other COM wrappers by using the "com_package" keyword argument. If you don't have win32com installed you will need to do so now by running "pip install pywin32".
The code to get the Excel Range object in Python is as follows:
from pyxll import xl_app

xl = xl_app()
xl_range = xl.Range("D4:G8")
In the VBA code the "Select()" method is used and from then on the "Application.Selection" property is used. We'll skip that part and just use the Range object "xl_range" directly. Note that I've named the variable "xl_range" so as not to shadow the builtin Python function "range".
There's no equivalent to "With" in Python and so for the next part we instead access the properties directly. The Excel constants used are available in Python via the "win32com.client.constants" object. With that, the next part of setting the range's interior color translates as follows:
from win32com.client import constants

xl_range.Interior.Pattern = constants.xlSolid
xl_range.Interior.PatternColorIndex = constants.xlAutomatic
xl_range.Interior.ThemeColor = constants.xlThemeColorAccent1
xl_range.Interior.TintAndShade = 0.799981688894314
xl_range.Interior.PatternTintAndShade = 0
It's worth noting at this point that we could also use the Range.Interior.Color property to set the range's interior color too. Colors in Excel are specified as integers in the form "BGR", which is the reverse of the usual RGB you may be familiar with. For example, red in Excel would be specified as 0x0000FF and not 0xFF0000.
Setting the border styles is similar to what we did above, just noting that item access is done using square braces "[]" in Python instead of the parentheses used in VBA. The code for setting a border style thus becomes:
border = xl_range.Borders[constants.xlEdgeLeft]
border.LineStyle = constants.xlContinuous
border.ColorIndex = 0
border.TintAndShade = 0
border.Weight = constants.xlThin
We could repeat this for each external border as in the VBA code, or we can take the opportunity to refactor into a for loop and save some typing:
for edge in (constants.xlEdgeLeft,
             constants.xlEdgeRight,
             constants.xlEdgeTop,
             constants.xlEdgeBottom):
    border = xl_range.Borders[edge]
    border.LineStyle = constants.xlContinuous
    border.ColorIndex = 0
    border.TintAndShade = 0
    border.Weight = constants.xlThin
The code to remove any border from the internal edges is very similar:
for edge in (constants.xlDiagonalDown,
             constants.xlDiagonalUp,
             constants.xlInsideVertical,
             constants.xlInsideHorizontal):
    border = xl_range.Borders[edge]
    border.LineStyle = constants.xlNone
How to call this Python code?
Now we have all the code we need, how do we call it? There are a few different places you might like to call this code:
- From a macro
- When a ribbon button is pressed
- On a right click context menu
- When returning from a worksheet function (UDF)
For the first 3 you would just call this code from a Python function mapped to a macro, ribbon button or context menu item. See the linked page to the user guide for specific instruction on how to write those different types of functions.
Note: There is a better way to apply formatting to the results of a worksheet function! See Cell Formatting and Custom Formatters for more details.
For 4. calling back into the Excel Object Model from a worksheet function is a bit different. Rather than call the code directly you need to wait until Excel has finished calculating and then call back into Excel. Also, for doing cell formatting in this way we would usually want to know what range our function is being called from so we can style the same range. PyXLL has two functions to help with this - pyxll.async_call and pyxll.xlfCaller. Use async_call to schedule a call after Excel has finished calculating, once calls back into Excel will be allowed, and use xlfCaller to get the calling cell reference. We can use the XlCell.to_range method on the result from xlfCaller to get the Excel.Range object (which uses the same win32com package as xl_app by default).
For example,
from pyxll import xl_func, xlfCaller, async_call

@xl_func
def styled_array_function(x, y):
    # calculate some value to return
    result = ...

    # get the calling cell reference
    caller = xlfCaller()

    # schedule a call to format the calling range
    async_call(format_cell, caller)

    # return the result
    return result

def format_cell(caller):
    # Get the Excel.Range object from the XLCell
    xl_range = caller.to_range()

    # Set the interior color to green
    xl_range.Interior.Color = 0x00FF00