
The PyXLL add-in is securely signed with a code signing certificate so that you can be sure that it is a genuine PyXLL add-in and hasn't been tampered with by any third parties.
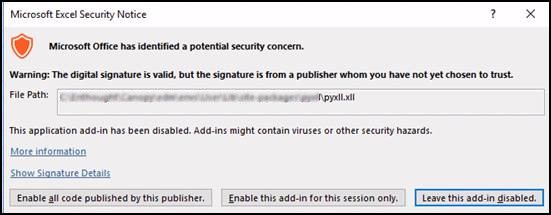
If you see the following warning when loading the PyXLL add-in, it will because of your trust centre settings in Excel.
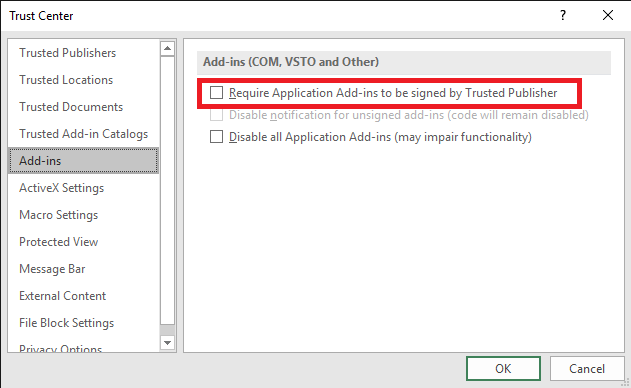
In Excel, there is a setting to require all add-ins to be signed by trusted publishers. This is off by default, but may be enabled by a Group Policy set up by your IT administrators. Go to Options -> Trust Centre -> Add-ins in Excel to see if the "Require Application Add-ins to be signed by Trusted Publisher" setting is enabled.
You can read more about Trusted Publishers in Microsoft's Office documentation here: https://support.office.com/en-gb/article/add-remove-or-view-a-trusted-publisher-87b3d5a3-b68c-4023-87c4-7cc78a44d7ed.
When you load the PyXLL add-in for the first time, you will be given the option "Enable all code published by this publisher". That will add PyXLL to your list of Trusted Publishers and allow you to use the add-in.
If your IT security policy does not allow you to change your Trusted Publishers, you may need to get your IT administrators to add PyXLL as a Trusted Publisher for you.
Adding PyXLL as a Trusted Publisher via a Group Policy
If you are deploying PyXLL to multiple users, rather than have each of the trust the PyXLL published as the add-in is installed, it is possible to add PyXLL as a Trusted Publisher via a Group Policy. You will need to be an IT administrator to do this.
The following article from Microsoft describes how to configure Office Trusted Publisher settings: https://docs.microsoft.com/en-us/previous-versions/office/office-2013-resource-kit/ff428091(v=office.15)
Obtaining the PyXLL Certificate
In order to add PyXLL as a Trusted Publisher you will need a certificate. This can be obtained from the pyxll.xll file as follows:
- Select the pyxll.xll file in Explorer, open its shortcut menu (right-click), and then choose Properties.
- Choose the Digital Signatures tab.
- In Signature list, choose the certificate, and then choose Details.
- In the Digital Signature Details dialog box, choose View Certificate.
- Choose the Details tab, and then choose Copy to File.
- On the Certificate Explore Wizard welcome page, choose Next.
- On the Export File Format page, choose DER encoded binary X.509 (.CER), and then choose Next.
- On the File to Export page, type a path and name for the .cer file, choose Next, and then choose Finish.